Looking to connect your Google Calendar to your Hailer Calendar? Want to optimize your Hailer experience? Look no further!
What you need to succeed:
- Zapier account
- Hailer account and workspace
In this quick how-to, we will show you how you can set up a Zapier connection between your Google Calendar and Hailer Calendar. Please note that this is a one-way connection, so it will only push events from Google TO Hailer.
If you are looking how to connect your Hailer Calendar to Google Calendar(or Outlook, iOS, etc.) with iCal, check our tutorial here.
Setting up the trigger
It all starts in your Zapier Account, with setting up your trigger app, and in our case, it is 'Google Calendar'.
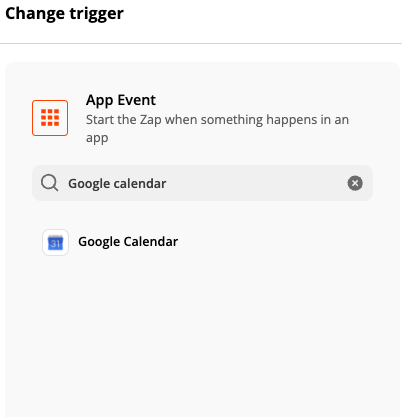
Click Change Trigger in Zapier, and you will see a popup like below. If you can't find it straight away, you can type 'Google calendar' to the search field.
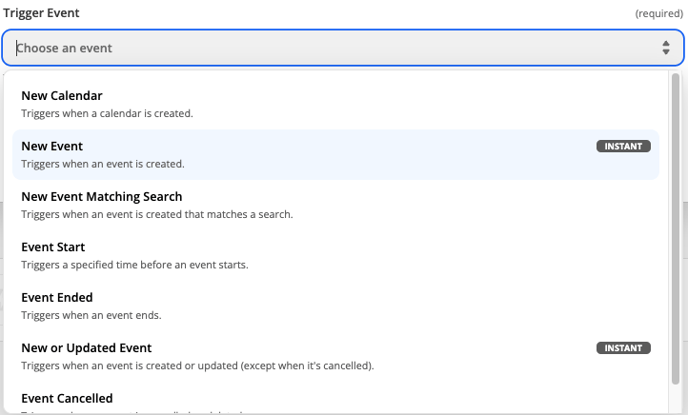
After that, we are allowed to choose the trigger event. Depending on your use case, you could choose 'New Event' or 'New or Updated Event'.
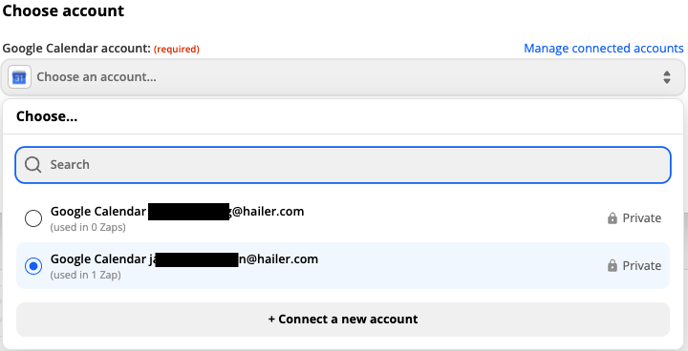
Up next, it is time to choose the Google Calendar account from which you want to import your calendar to Hailer. In case your email account is not listed there you can add a new one. After you have done that, hit 'Continue'.
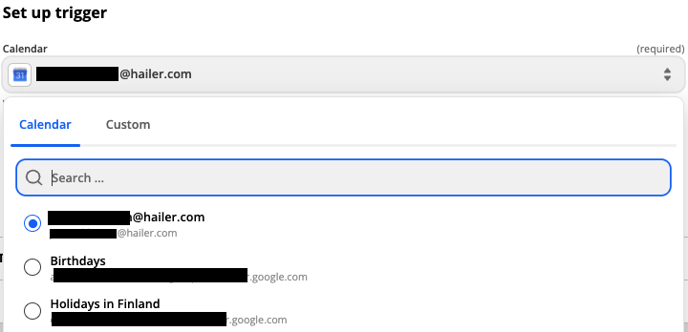
Now that we have selected an account, we move to choose the email account or calendar we will be using as a trigger.
After selecting the trigger, hit 'Test trigger'. This test will fetch the latest event in your calendar.
If you have an empty calendar or relatively old events it is quite likely that the test will fail. Try to create a new event in Google calendar and it should work when you test it again.

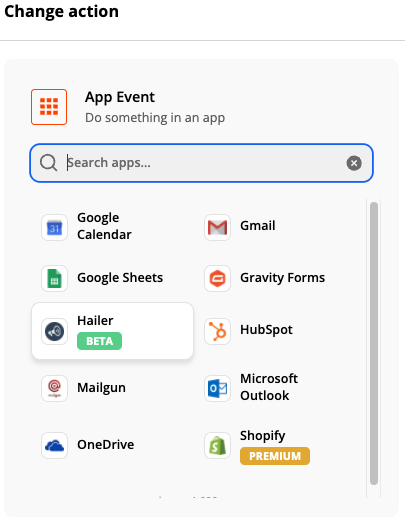
But if everything is all right it should look something like this. Now we can hit 'Continue' again and move to the next phase. To engage the action, we need to select or search the Hailer application in Zapier.
Setting up the action / Create an Event in Hailer
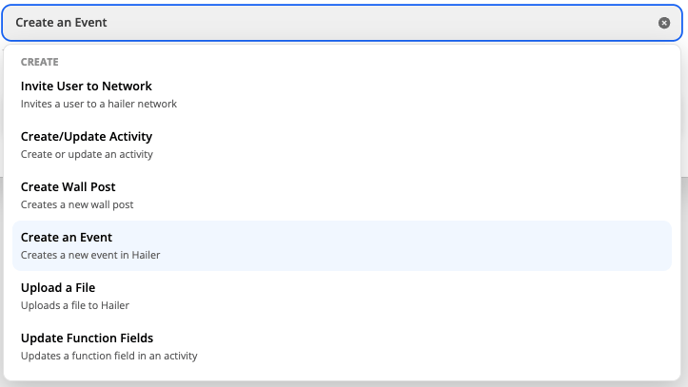
Then we set what Action we want Hailer to perform from the 'Action Event' dropdown menu. In our use case, we will choose 'Create an Event'.
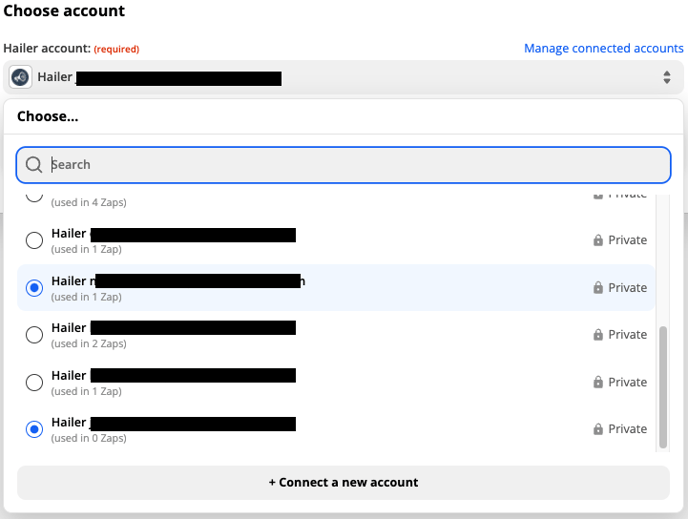
Now we can set up which Hailer account will be used for updating this activity or event.
If you can't find your account from the list, hit the 'Connect a new account' button.
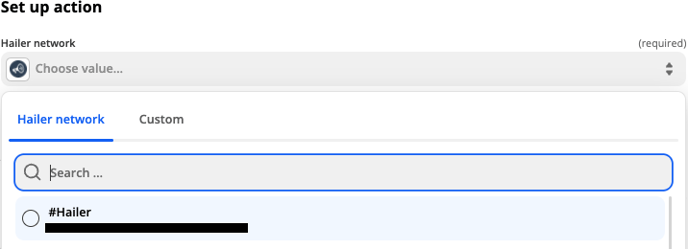
Next up, choosing which network will be used. Usually users belong only to one network so your list mostly likely just has that one network to choose from.
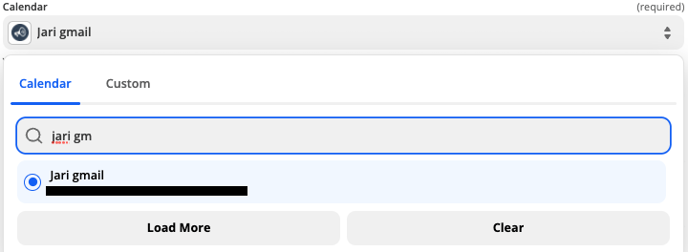
After that, you will choose which Hailer Calendar you will be pushing these Gmail Calendar Events to. Make sure you have created that calendar already in Hailer!
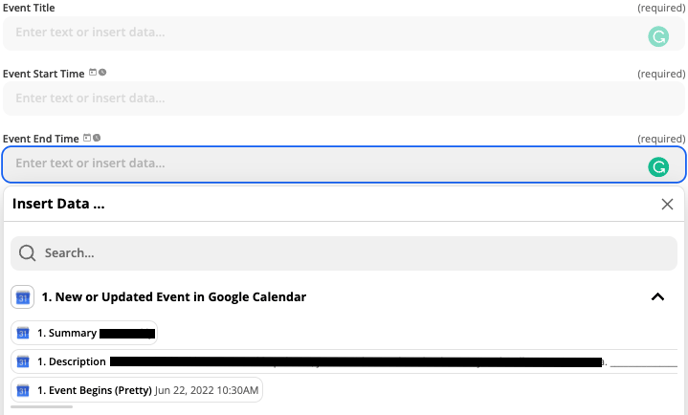
Now by clicking data labels, you can choose which information you want to see in Hailer Calendar. For example, the summary would be equivalent to the Event Title.
Now we can move up to the final step before activating this Zap!
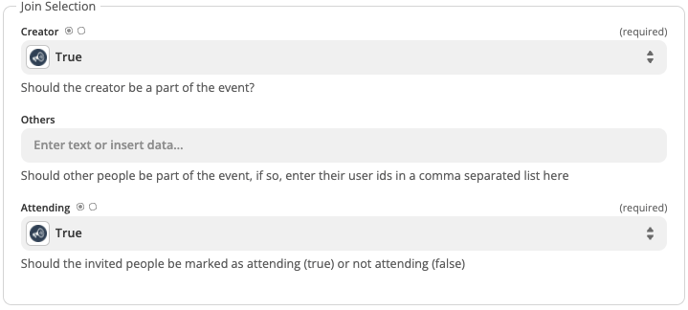
In here you can set up whether or not you would like to have the creator part of the event and if the invited people should be marked as attending or not attending.
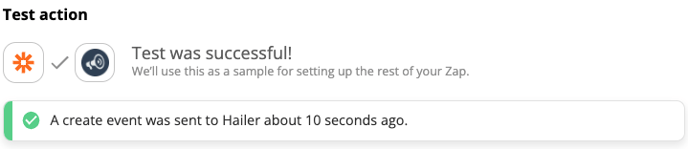
After setting up your 'Join Selection' you will be able to test your action. Now you should be able to see this one event in your Hailer Calendar. If everything looks like it should - Turn on your Zap!