Article for workspace owners and admins: how to set up the workspace.
Access workspace settings
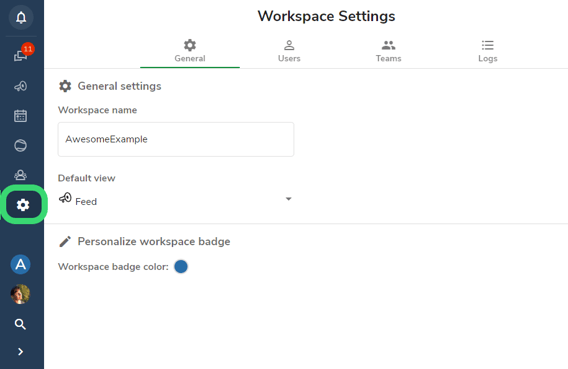
workspace settings are available for workspace admins or creators. The access the settings from the gear icon in the navigation pane.
Main view & General settings
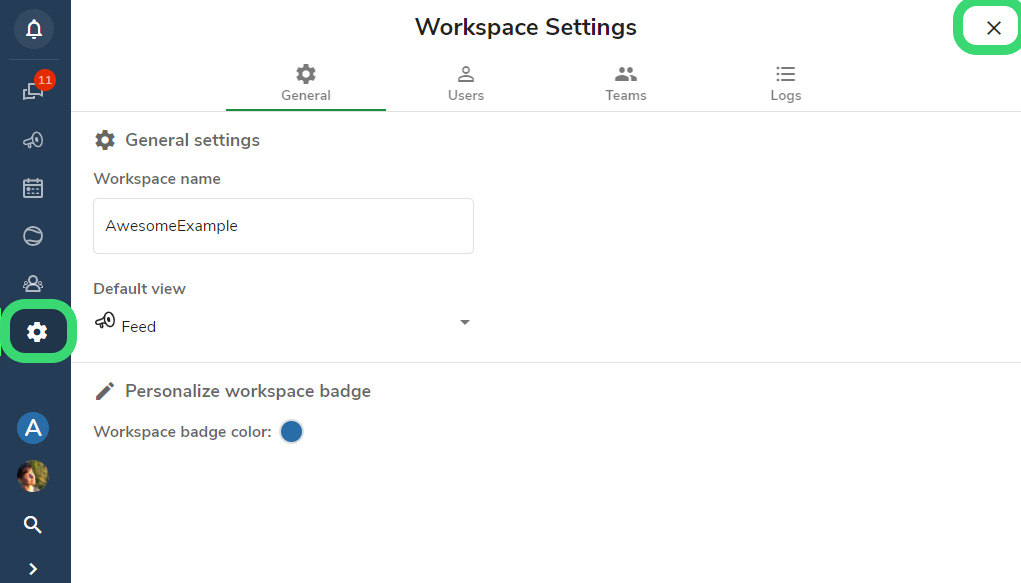
From the General settings, you can change the Name and description of your workspace. Also, you can define the default view, and change the workspace badge colour.
(Exit Settings view from the X )
Create a copy of your Workspace:
Copy workspace creates a free copy of your workflows, datasets, and linked modules. Activities and messages are not copied. Check out Hailer Pricing to see what is included in the free license. Workspace copies can be easily upgraded when needed.
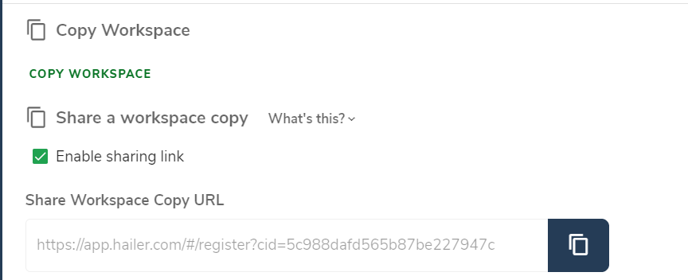
By sharing the link anyone can create a copy of your Hailer Workspace configuration. Is your Hailer configuration something unique and you think there might be markets for it? We can help you commercialize and sell your solution. Contact us for more information: info@hailer.com
If you are using function fields or files tagging in your workspace and you would like to create a public copy - contact us for more details.
Manage Users
-
Manage invitations
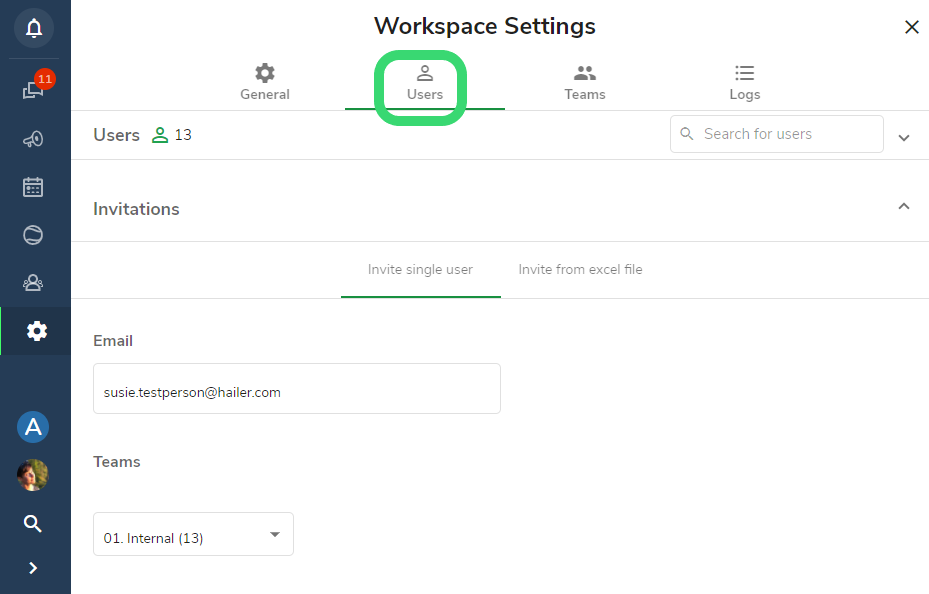
You can invite single users or a group of people by importing an excel sheet. The invitation will be sent out to the persons’ e-mail.
Note: The invitation link is valid only until the person creates a Hailer User linked to that e-mail. After the user has been created, the login happens via app.hailer.com
-
Single Invitations
Invite a single user by filling in the e-mail and title fields and adding correct Teams and Roles. Then Send Invitation
-
Group invite by using excel
This is a great feature if you need to invite a large group of people. Go to the Invite from excel file tab in the Users page (see picture above). Define Roles & Teams and add a welcome message. (First, create the different teams; see page 7) Import an excel sheet with the e-mail addresses. Validate and send.
-
Pending invitations
You can view the pending invitations in the Invitation dropdown. Remove a pending invitation from the red X next to the e-mail address.
-
Remove users from the workspace
Go to settings & Users page, open users dropdown, click on the user’s name. The sidebar opens on the right, on the bottom you can find Remove button.
Tip: You can also invite single users from the Users & Teams tab:
User roles
Workspace owner is the ultimate master of the Hailer Workspace. They have an access to the payments and possibility remove other users and copy the whole workspace.
Workspace admin has access to every workflow module, dataset module and calendars. They can also invite new users and view everything in the workspace.
User with an Inviter role can invite guest users in those modules where inviting guests is enabled. Inviter can invite new users to the same team the inviter belongs to.
Workspace user has access to all modules where she/he has permissions. Check out how to manage workspace permissions
Guest user has access only to those activities they have been invited to. They can have access only to My Discussions view.
User Fields
Go to Settings > Users > User Fields dropdown
User fields are information related to the user that is shared between the workspace members. The workspace admin can define label, field type and who will fill in that field. Delete fields from the red X. Example below:
The User Fields are visible to other users when clicking the user’s icon in discussions and in Users and Teams tab.
Managing Teams
Go to Settings > Teams.
Teams define what the user can see in Hailer. Manage the different teams in settings and Teams page.
You can create new teams or delete old ones. If you are planning to invite a large number of users in different teams, you should first create the teams and second invite the users directly into the correct team/teams.
Teams are used when inviting groups of Hailer users into activity, event or chat. They are also used when you need to hide or show process modules. Usually, you use your organization structure to model teams in Hailer.
Tip: Use numbers in front of the team name to manage the order of the teams. (otherwise, they will appear in alphabetical order
Tip: you can add team members also from the user side tab: Go to workspace Settings > Users > click the user details open:
Payments
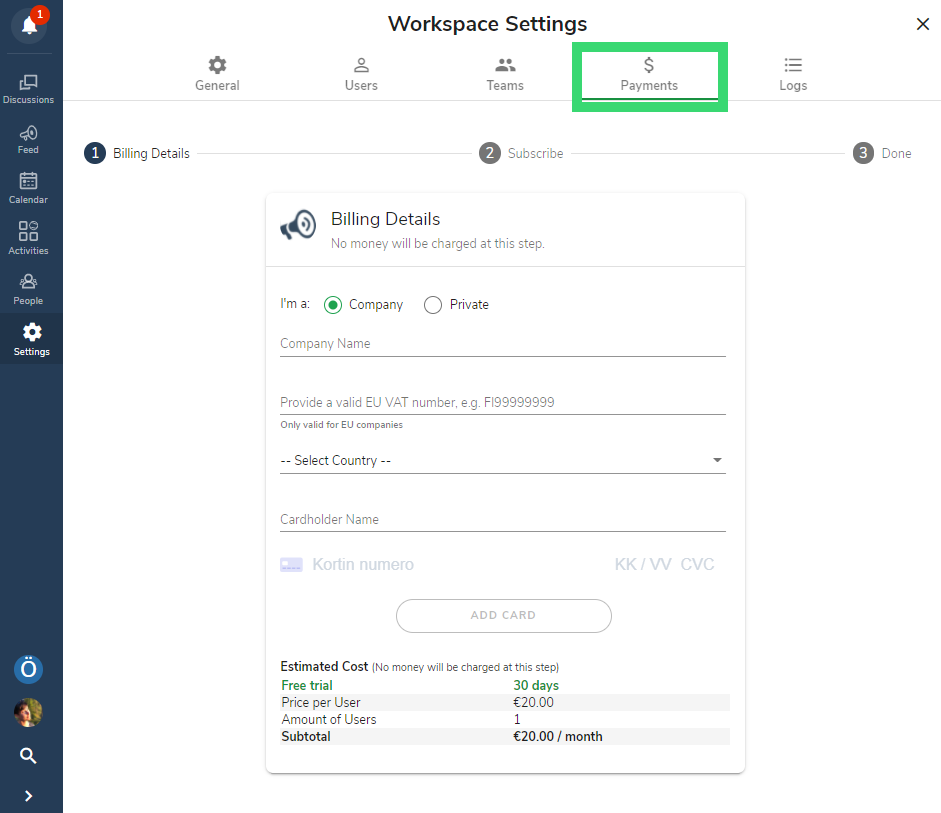
Workspace admin has access to the payment settings. Here you can manage your Hailer subscription.
Logs
This section contains technically detailed information on selected actions in your workspace. This information can be used for troubleshooting and tracking changes made in the workspace.

