Get to know Workflow and dataset settings 🧐
Workspaces are constructed from at least one or more workflows and each workflow contains phases, fields, and other information such as activities. In this document, we will go through what is included in the workflow settings and what can be achieved.
Workflow settings include the following:
- General
- Phases & Categories
- Datasets
- Fields
- Social
- Files
- Permissions
- Visuals
General
It all starts from setting up the general information about your workflow and its default settings.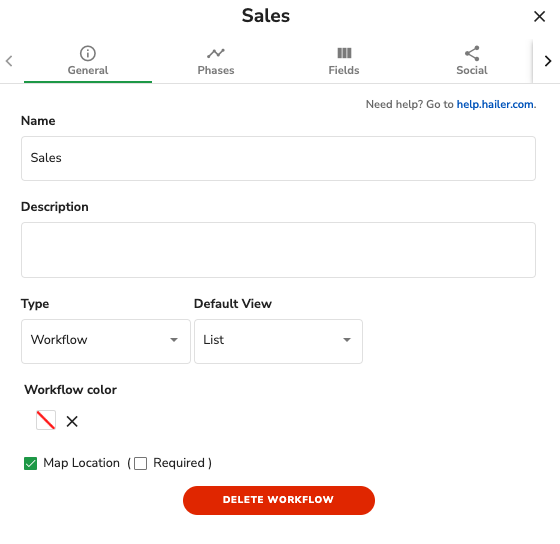
Especially when using the pre-made templates it is quite common that you need to change the name of the process to match your personal needs.
In the 'description' field you can add additional information about this workflow.
From the type selection, you can jump between 'Workflow' and 'Datasets'. The workflow will describe your processes and datasets will work as a database for information.
The default view should be based on your company's way of working, but this also allows you to try new ways simply. For example, your sales team could try to see if the kanban board would help see the big picture of your sales funnel. It also includes a map view where you can see Google maps based pinpoints of each activity in a certain phase.
If you prefer to view your activities on a timeline, you can use Timeline as your default workflow view. When selecting timeline as the default view, you can also select which resource (field) to group on by default. Grouping on the following field types is currently possible: User, Team, Activity, Predefined Text, Country. Note that the same default group field will be used in the workspace timeline view if you view your activities from there.
Workflow color will be visible in both the workflow and workspace calendar. This will define the border color in the calendar view.
Do note that when you switch to datasets your default view selection will disappear and the phases tab will change to categories.
Phases & Categories
Phases are constructed from fields and are included inside a workflow.
Phase endpoint means that activities in this phase can't be edited anymore. The only exception is that the admin can move it to another phase where it can be edited.
The primary Numeric field means that this will be visible in the list view and activity link, and it will use this selected numeric field to calculate the total. For example, you could use this for calculating total sales estimates in each phase.
Primary DateField is required when adding events to the calendar.
Phase color will define the color of this phase in the calendar view. Border color is defined in the workflow calendar.
In this view, you can see what fields each phase includes and to what phases the selected phase is linked.
'Linked to' tells you where the activity inside the phase can be moved to. In our example, inputted data in 'Leads' can be moved to any other phase. It is quite usual that information can move from a certain step to another, in this view, you can simply allow or disallow this by adding or removing the checkbox.
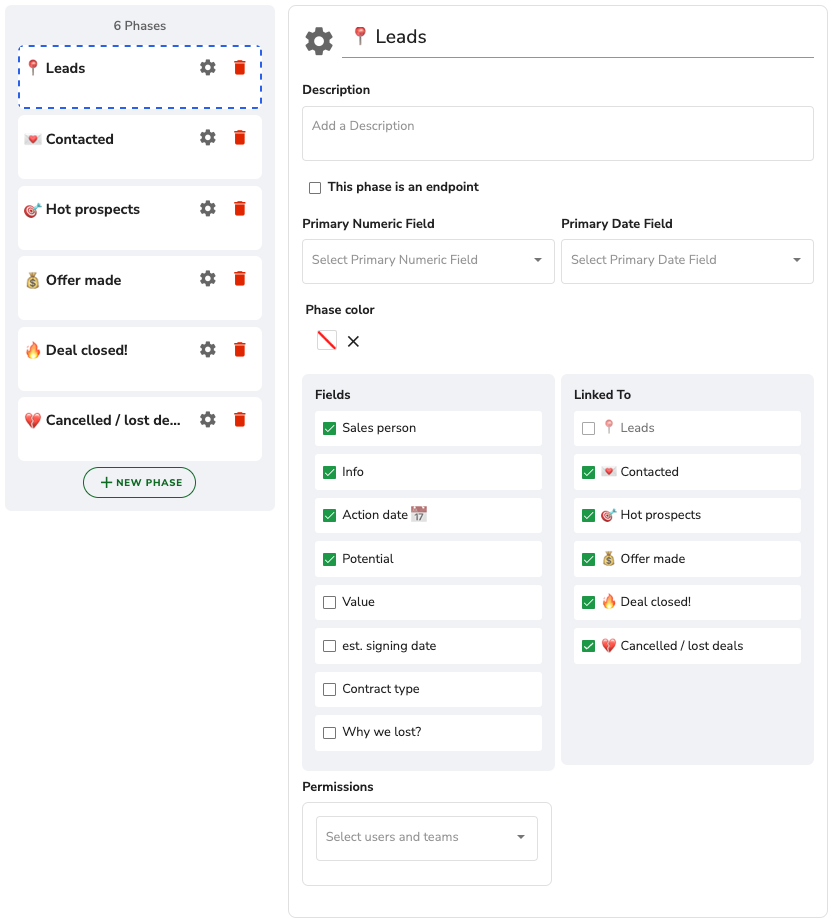
You can also set up which users or teams have permission to certain phases. For example, you could allow everyone in your workspace to add leads but allow only the sales team to move activities forward from phase x to y.
If you want to add more automation to your workflow, you can add webhooks from the phases tab.
Please note that Webhooks are a restricted feature. Contact us at info@hailer.com if you would like to know more about this feature.
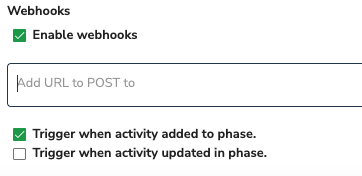
Here you can see a guide on how to set up an email notifier with Zapier and webhooks.
Datasets
Datasets are used for storing and handling more static information. It can be for example customer data or about what equipment or machine you have.
The main difference between datasets and phases is that you are not able to move activities between categories.
Read more about customizing your workflow with Phases and Datasets.
Fields
You probably noticed that we talked about fields in the previous steps. All the fields created in the fields tab will also appear in the phases tab. The header in 'Name field settings' can be manually inserted or generated by functions. You can also add rules such as unique names required or prefixed activity names simply from the checkboxes.
In 'General field settings' you can choose what extra data you want to display. You can also name the owner team in the title text area. This name will be displayed in permissions, in our example, it would say "predefined Owner Team"
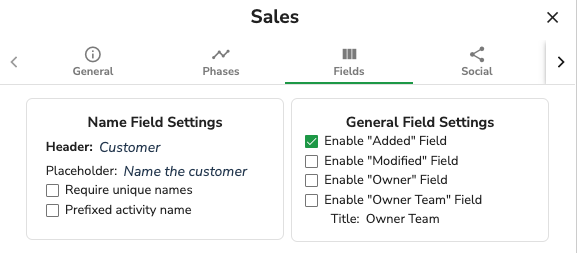
After the name and general field settings, it is possible to create custom fields. In Hailer, there are multiple field types available. Most commonly used are text, numeric, date & time-related fields.
The number of fields in a process is not limited; the available field types are:
- Text - a single line of text
- Predefined Options - create a drop-down of categories
- Text Area - a longer text area
- Numeric
- Numeric Unit - a numeric field, you decide the unit %$€
- Date
- Date Range
- Time
- Time Range
- Country
- Activity link - Link activity to any activity in any module
- User - Link activity to any user in the network
- Team - Link activity to any team in the network
- Linked activities - Shows the activities that are linked to this workflow or dataset in the first tab of the activity card. Read more about activity links here.
- Subheader - Header text field
In addition to these fields, any activity can have a location - specified with coordinates and visible on a map. Files can be attached to any activity.
You can also define which fields are required and if they have default information, such as current date as a default selection for date fields. It is also possible to add functions to the fields. You could, for example, create an automated cost calculator.
Function fields are a restricted feature. Contact info@hailer.com if you want to know more about function fields and their potential.
You can read more about function fields here.
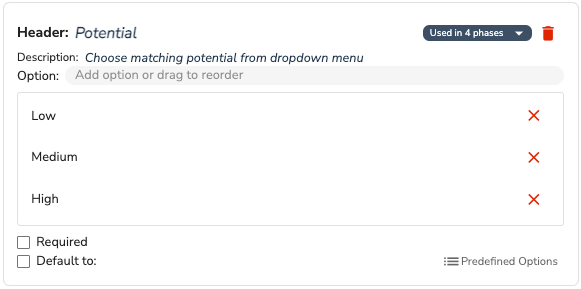
It is possible to add additional information like the description to each field, which will guide users on what to fill. This is useful especially if you decide to use the web form(can be found under the social tab) which is visible for clients and other groups with whom you decide to share it.
Deadline reminder
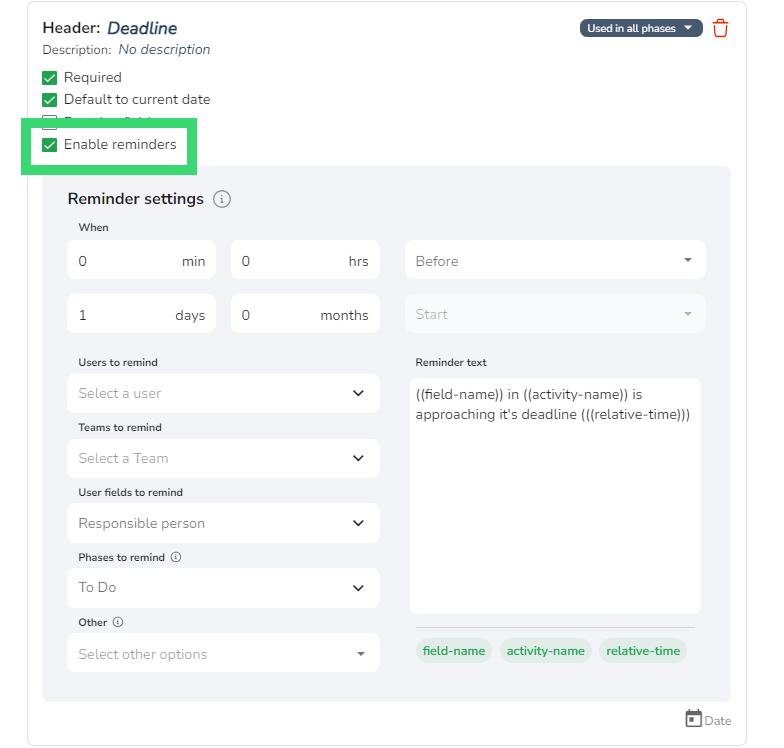
With the reminder, you can add in-app notifications for your workspace users to time and date-related fields. Choose Enable Reminder and you will get access to the reminder settings.
Social
In the social tab, you can define discussion and announcement-related rules and whether you would like to allow or not guest users.
From the social tab, it is also possible to generate a web form that can be used for filing sales contact information. For example, clients interested in your service could input their data into a contact form, and it would automatically generate a new activity in the 'leads' phase.
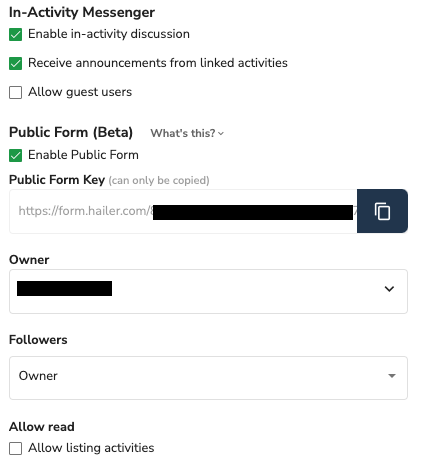
Check here if you want to learn more about web forms.
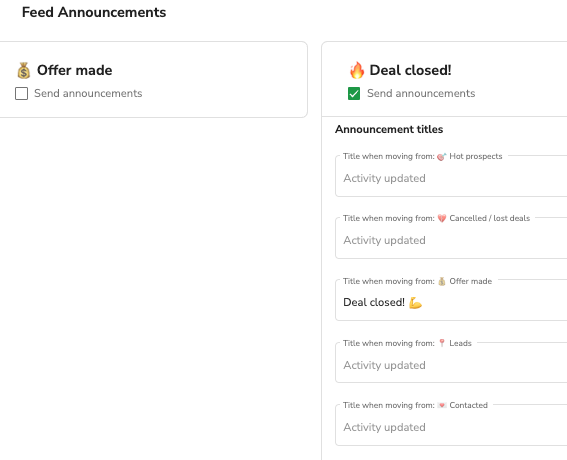
You can also generate automated 'Feed announcements' when activity is moved to a certain phase. You can also set up the rules when the announcement should be activated and who should receive it. For example, a sales team would probably like to announce the whole company when they close a deal.
Files
You can choose between allowing file attachments or denying them.
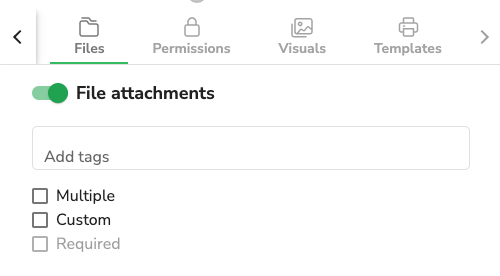
Kindly note that file tags is a restricted feature. Contact us if you would like to know more at info@hailer.com.
Permissions
In the permissions tab, it is possible to change the permissions of a single user or team member for the whole workflow. By default, when creating a new workflow, it will be available for all users in that workspace.
You can also change the permissions in phase or category level, but you have to jump back to the according tab.
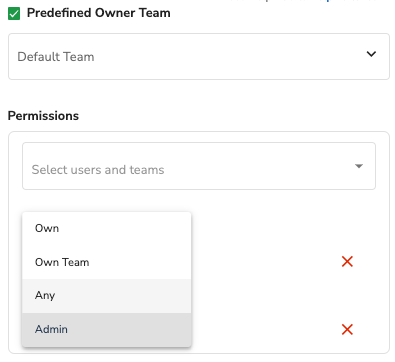
You can read more about permission here.
Visuals
In the visuals tab, it is possible to add a touch of personalization to your workspace and worklfows.
First, you can select who is in charge of each workflow.
Currently 'Label' and '"Create new" label text' are not in use.
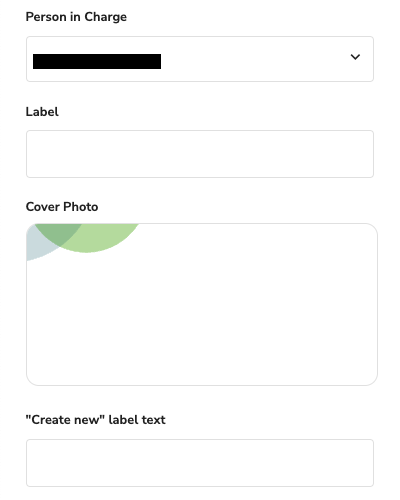
After you have selected who is in charge, you can change the picture of your specific workflow's cover photo.

You could use something like this to make your workspace pop back to life. Remember that business doesn't have to be dull and serious all the time :)
Multi-language support
Hailer currently supports configuring your workflows and datasets in three languages: English, Finnish and Swedish. If you want to translate your workflows or datasets in a new language, you need to add the language in the workspace settings.
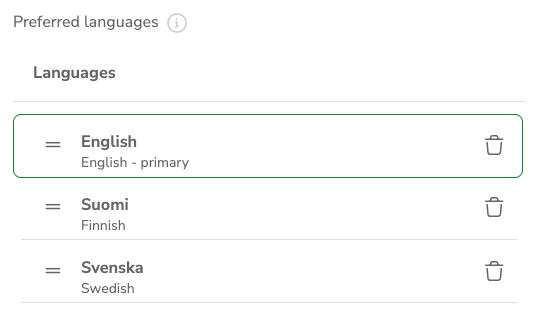
After this it is possible to start translating your processes in the selected languages. The language selector in the upper left corner of the workflow editor is activated. When selecting a particular language in the workflow editor for the first time, a copy of the current primary language translation is created in the selected language. After this is it possible to start editing the workflow in the selected language.
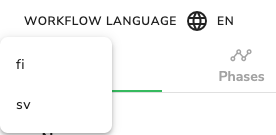
The primary language of the workspace defines the default language in the workflow editor. It also defines the fallback language of the workspace whenever a user doesn't have any of the workspace language(s) set as preferred language.
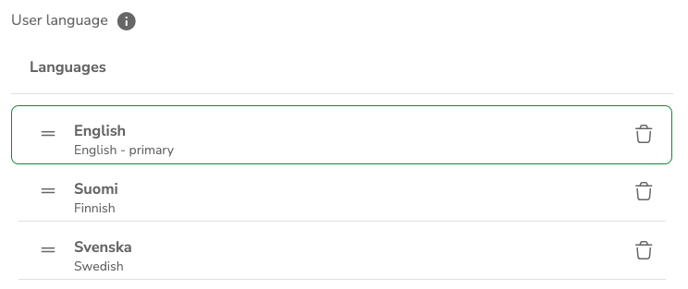
Whenever there is a workflow translation available in the selected primary language of a user, the workflow is displayed in that language.
